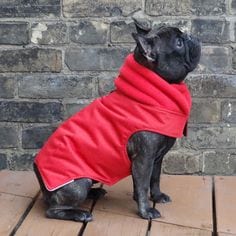
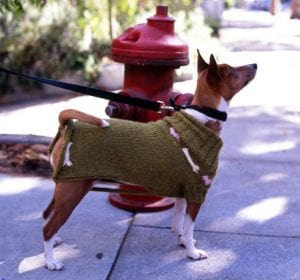
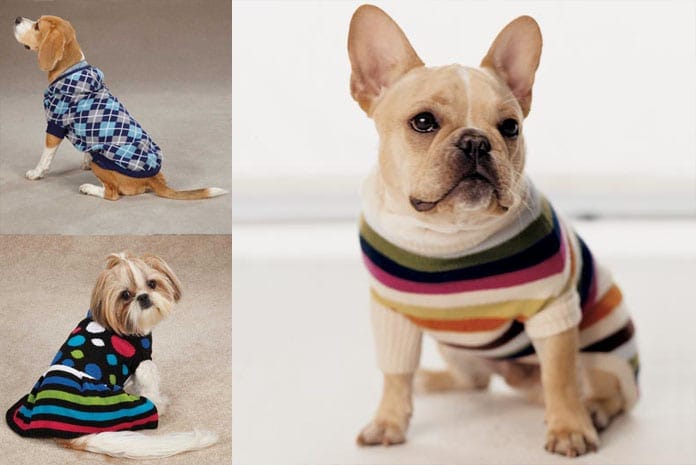
Every dog owner would be proud to have a flashy dog sweater on their pets. However, looking for such custom made products in stores may be money draining eye-opener for many pet lovers.
However, this endeavor should not be as paining to the dog owners as it is now, everyone can have a DIY dog sweater made at home. The sweaters can be re-purposed from old large men’s sweater into a large sweater for the dog. To come up with an agreeable product, several steps need to be taken.
DIY Dog Sweater – Step 1
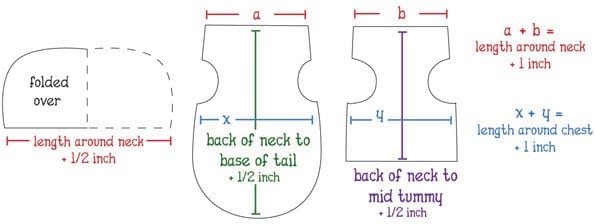
First of all, are the materials that you will need to complete the sweater. The first material one would need is a sewing machine an old large men’s sweater, a ruler to take measurements of your dog and a pair of scissors as well as some pins.
The process of constructing the DIY dog sweater may prove a task at the first times, but it is ultimately rewarding in the end by providing your beloved pet comfort in those chilly nights. Additionally, this sweater will keep away dangerous diseases like pneumonia that would have otherwise threatened the health of your precious.

Image credit goes to – www.urbanthreads.com
DIY Dog Sweater – Step 2
 To fashion the sweater out into the desired product, you should take the old sweater and turn it inside out and remove the arms at a diagonal angle to remain with an armless sweater.
This is where the two front feet of the dog will go in. The second procedure in this step would be first to measure 2 inches from the line of the neck and then pin this position then secondly would be to measure 2 inches from the pit and pin this location again.
The third procedure would be to sew the parts marked with pins together from the pit to the neck thus minimizing this portion and making it comfortable to the dog. In this step make sure to use the back stitch. After that, one would fold the cut sweater into ¼ or half-inch pieces which forms the opening and which will be used as an armhole and then pin it.
The stitch used here should be the zigzag stitch which is recommended to prevent the fraying of the fabric along the edges which have been cut.
Step 3: Cutting the Mid-Section
For you to find the midpoint of the sweater, fold it in half horizontally and mark the point with a pin along the left and right side of the seams. Afterward, it is not advisable to remove the pins as they will be used later in the steps that follow.
After this step, measure two inches from the side seams and vertically cut the top layer from the bottom up to the midpoint then cut the top layer to the side.
Step 4: Cutting the Chest
 In this step, the intention is to cut the chest of the sweater in order to fit the dog snugly. The DIY dog sweater is now almost ready to be worn by the pet.
The second procedure in this step would be to cut upwards towards the collar and using the mid-section as the reference to cut. Afterward, the pin is closed from the neckline and into the midsection, and then another pin closes the other end.
This then forms the chest enclosure in such a way that it does not hang too loosely on the dog’s frame and neither is it too tight.
Step 5: Sew the Chest and Midsection Together
The first step in this procedure is to sew the sweater together down the chest area up to the marks that the pin made in the midsection. As for the midsection, the hem of the DIY dog sweater is folded ¼ to half an inch and is sewn together.
Step 6: The Finished Dog Sweater
You have now completed the DIY dog sweater and, the sweater is now ready for your pet. It is hoped that the pet will take to it like a baby to a blanket.
However one should always be mindful of the temperatures in which the pet is exposed to as excessive temperatures may lead to dehydration and possible heat stroke.
Additionally, every pet owner should also be aware of the nature of the cold and make them a sweater. The DIY dog sweater does not, however, protect the pet on the ears, nose or toes and these exposed areas may experience frostbite.
Video Guide to Make DIY Dog Sweater By TheCraftyGemini Youtube Channel
